I’ve been looking for a RAID-capable DAS box to attach to my 2010 Mac Mini, which is currently in use as a home iTunes and file server. I was using a ReadyNAS X6, but a combination of iTunes’s wonky support for networked libraries, a quirky home network, and Lion’s stricter AFP security restrictions made it a reasonable time to consider a switch.
After a decent amount of hemming and hawing I decided to purchase the Sabio DM4 as an external RAID solution. It was on sale for about $170 (down from $299 or so) so it seemed like a good time to dive in. I planned from the start to use the four 1.5TB drives my ReadyNAS’s previous owner had installed, for a total RAID 5 capacity of 4.5TB.
Rationale
The technically adept among you are probably saying to yourselves:
“Why not a Drobo or one of those nifty new PROMISE Pegasus Thunderbolt drives? Any Mac external drive solution without a Thunderbolt port is already obsolescent.”
You are not wrong.
At one point in the not-so-distant past I would have dived in and purchased a 2011 Mac Mini with Thunderbolt to replace my perfectly adequate 2010 model and either waited for a Thunderbolt Drobo (which I’m sure is on its way) or slapped down the money for a Pegasus. The final cash total would have ended up around $1500, but I would have had the best in modern external drive technology.
Recently however, I’ve tried to be a bit more mindful about what I really need in my computers rather than what I simply want. I’ve put in plenty of miles on the Hedonic Treadmill of technology already, and in the spirit of satisficing, the DM4 seemed to be the right match for price and performance.
Unboxing
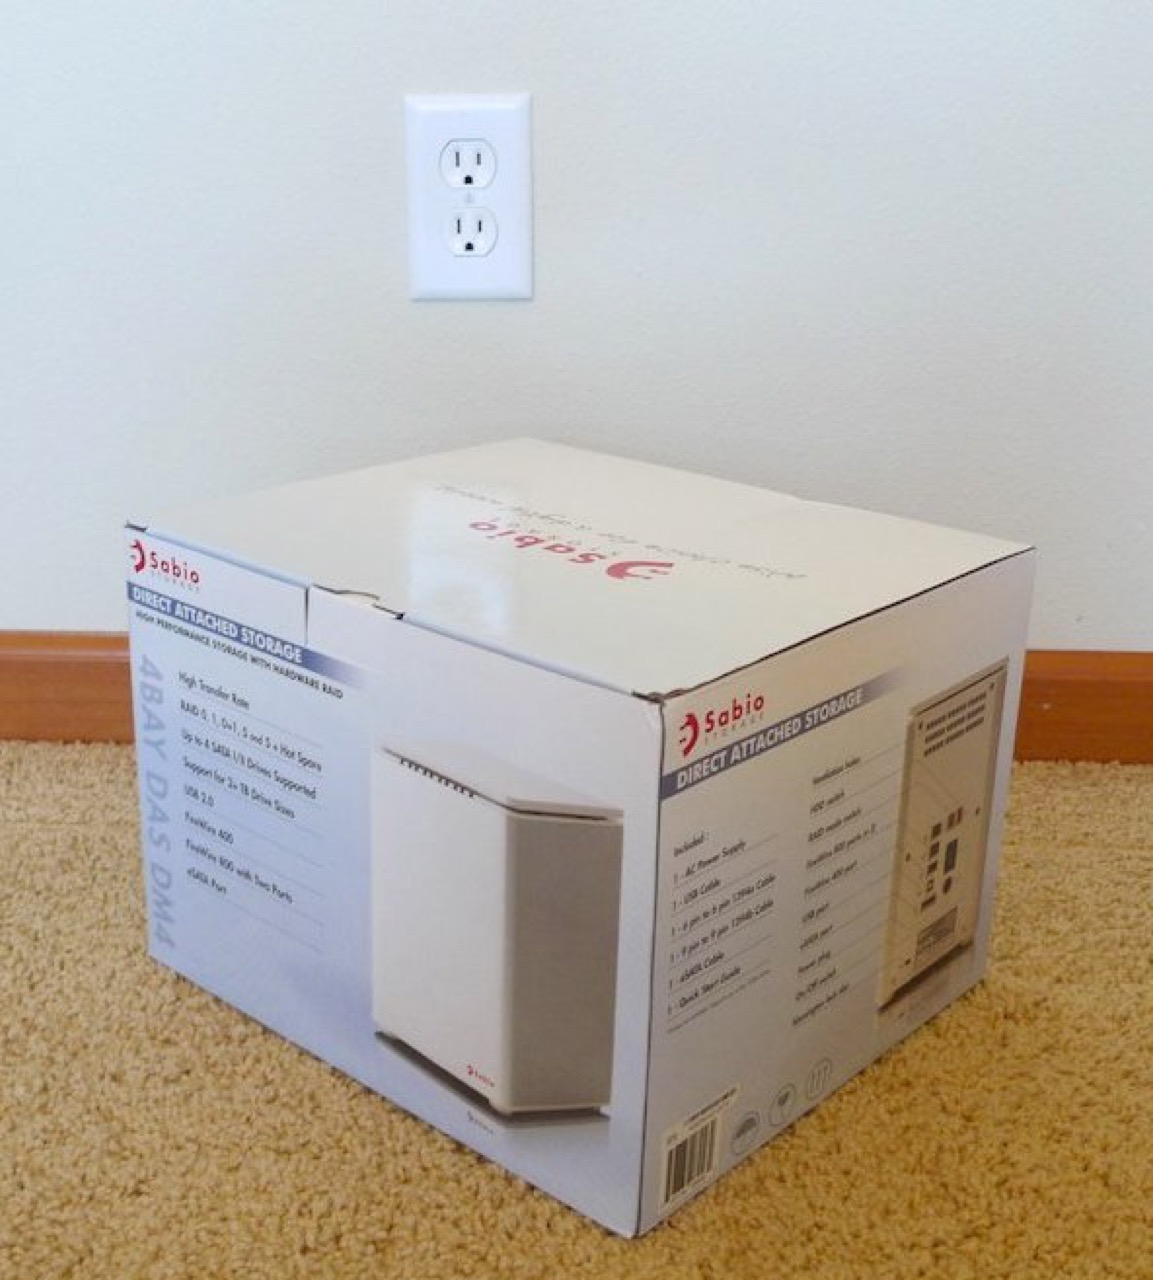
DM4 Box External
The packaging is thoughtful, and the overall unboxing experience is almost Apple-like.
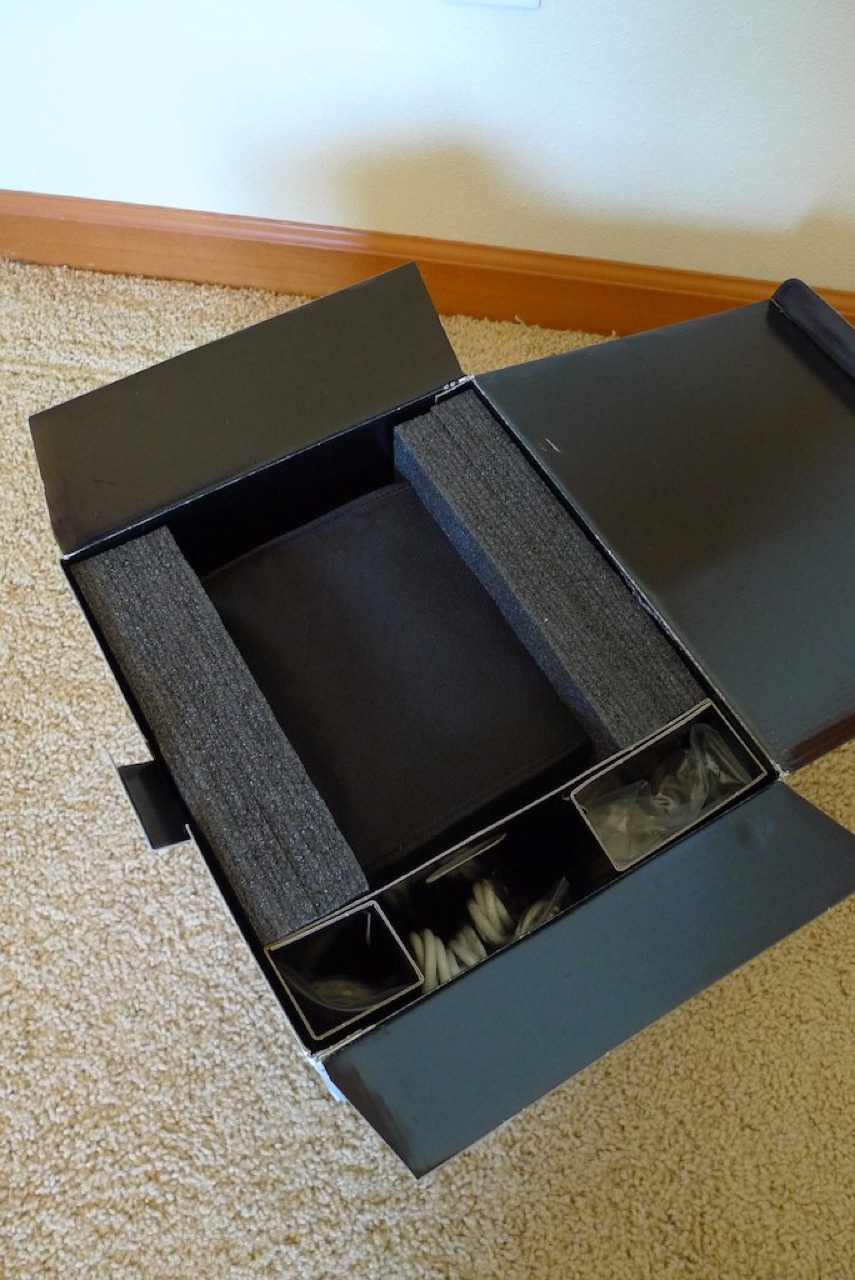
DM4 Box Internal
The main unit comes wrapped in a handy carrying bag, which probably won’t get much more use than toting the thing from my second-floor home office down to our first-floor living room where the Mac Mini lives. Still, it’s a nice touch.
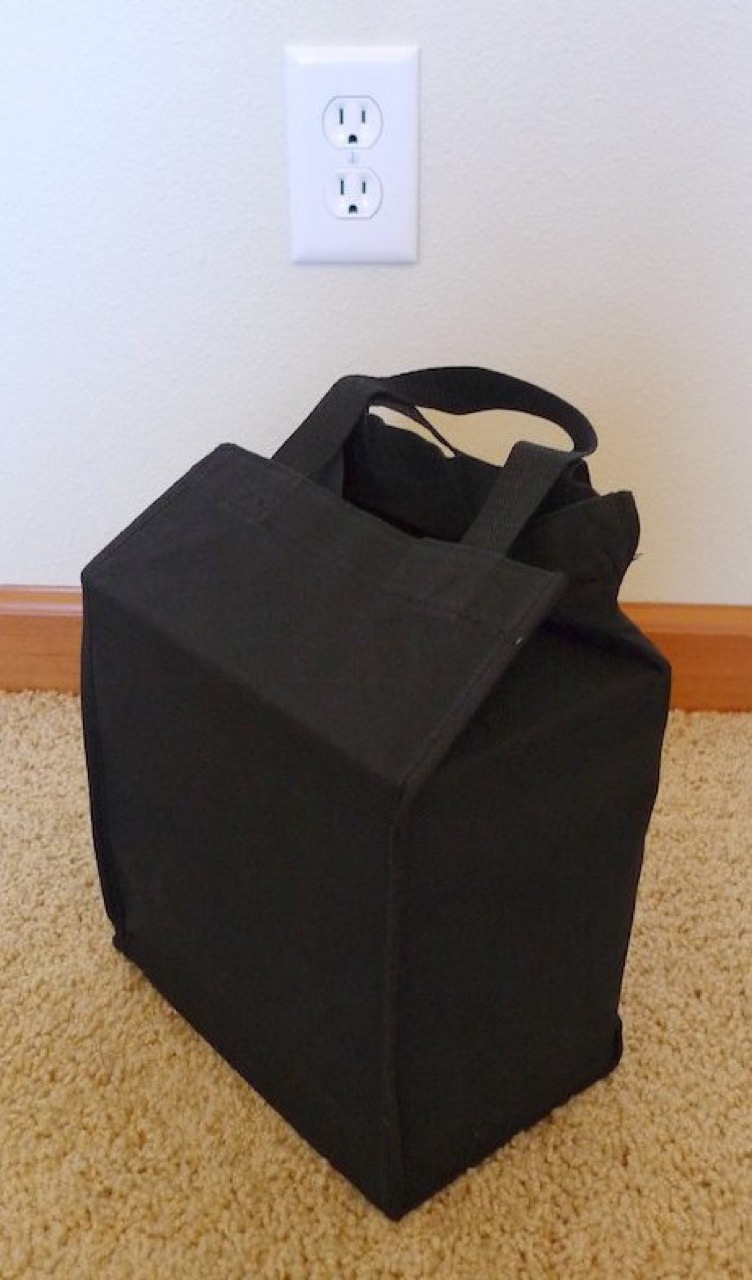
Handy Carrying Bag
The main unit itself has an “Apple, 2008” design vibe, with white plastic and brushed metal construction. It’s solidly built, and I haven’t run into any problems with vibration or fragility.
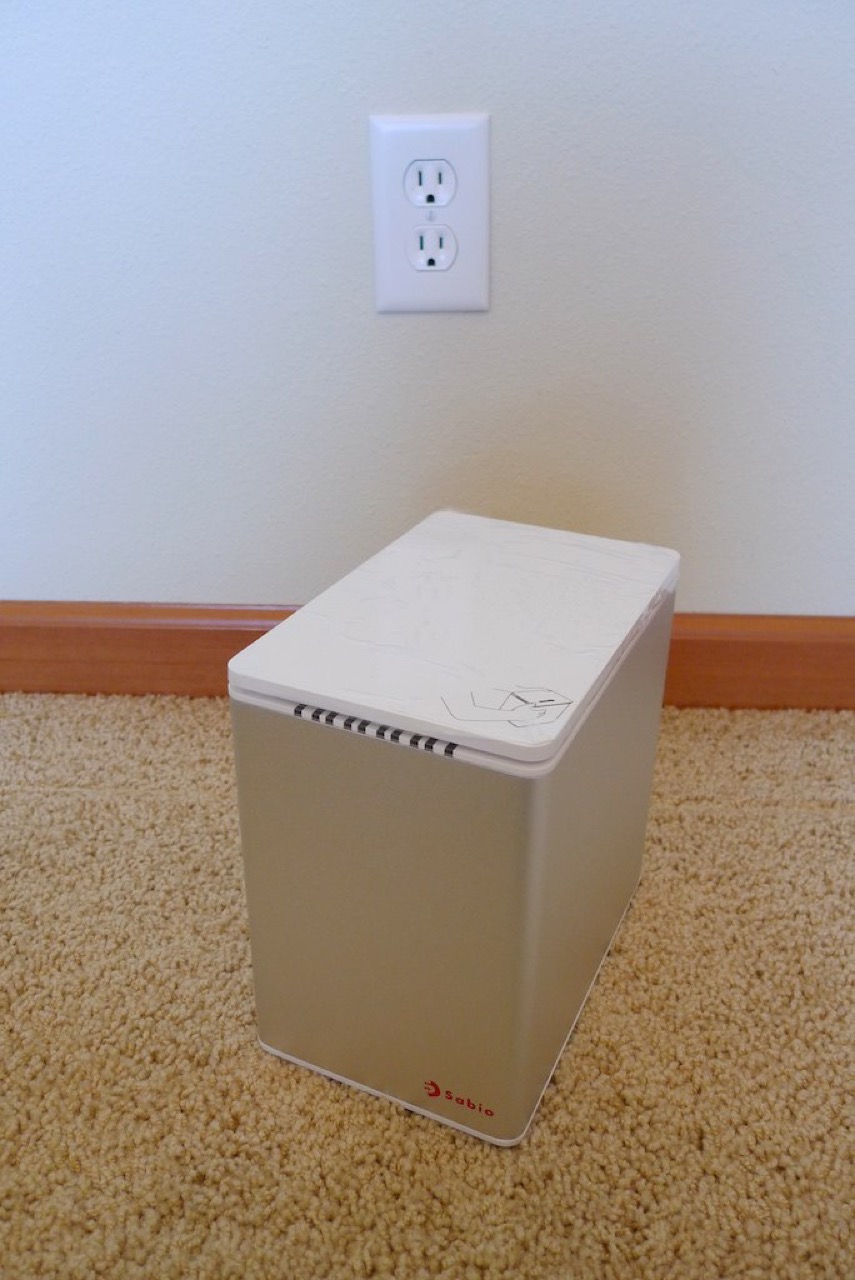
Front Quarter
The biggest surprise is that Sabio included every cable you might conceivably need to get this thing running.
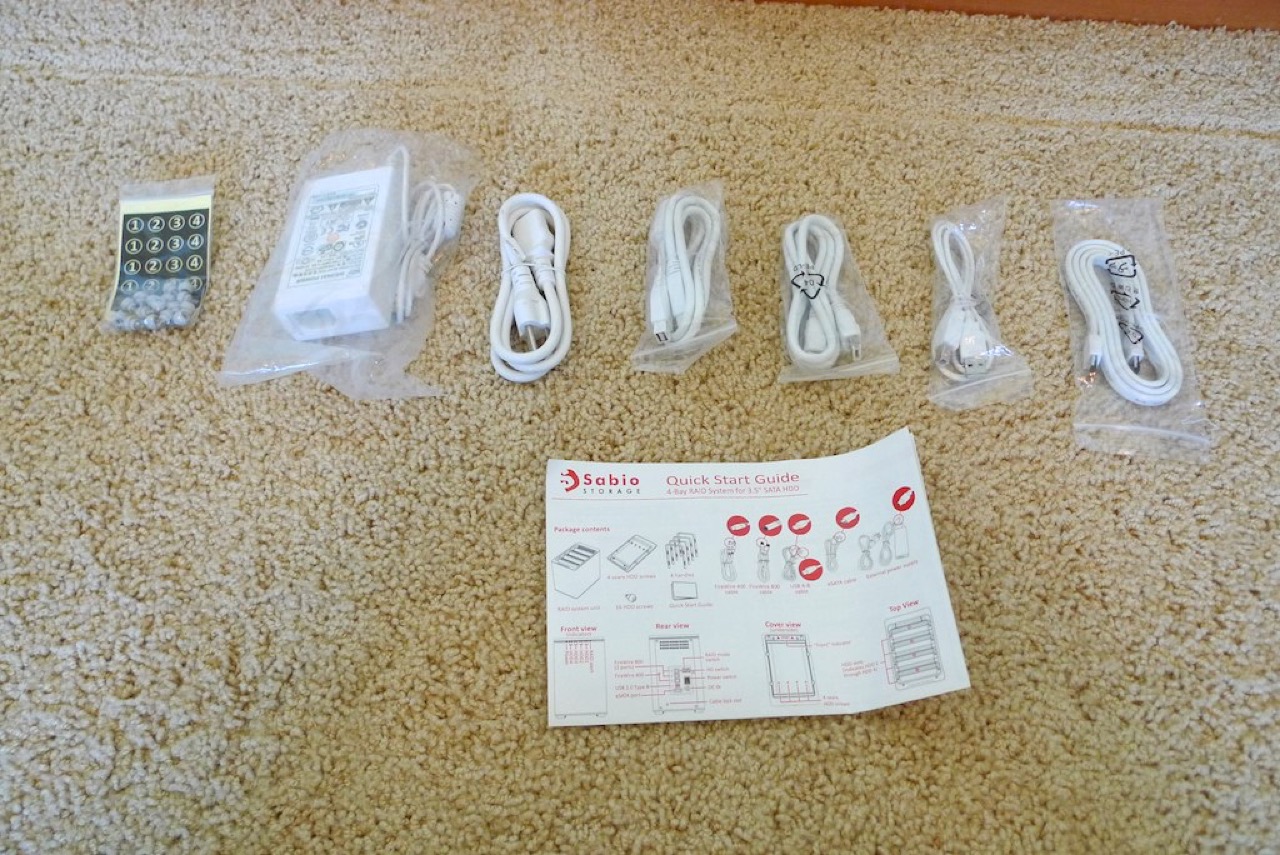
Cables, Power and Manual
Since the DM4 offers a wide range of connectivity options (two FireWire 800 ports, a FireWire 400 port, USB 2.0 and eSATA) you’re looking at a whole lot of cables. This was another thoughtful and much appreciated choice by Sabio.
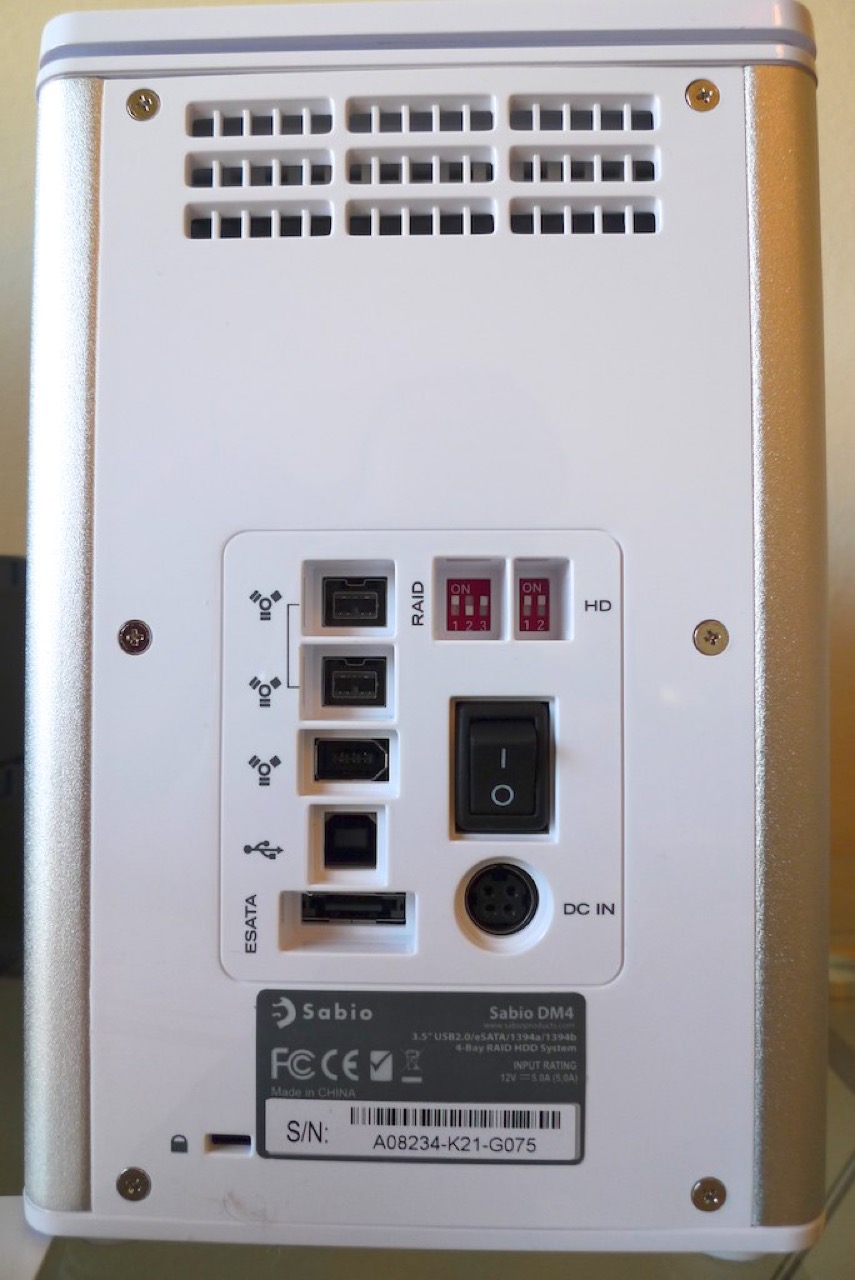
Rear Panel
Tools
Tool requirements are minimal, but you’ll want to have the following handy:
- A medium phillips-head screwdriver for attaching the drive rails to the drives
- A small flat-head screwdriver or other similar tool to flip the jumper switches on the rear face
Out of the Box
I removed the plastic protector sheets off the top and back panels and slid back the top panel as shown in the instruction sheet. Again I noticed the DM4’s solid construction. At no time did I feel like I was going to break anything.
Under the lid you’ll find a handy reference diagram for jumper switches and drive placement. Beneath that, you’ll find four spare drive bracket screws firmly attached where they can’t be lost.
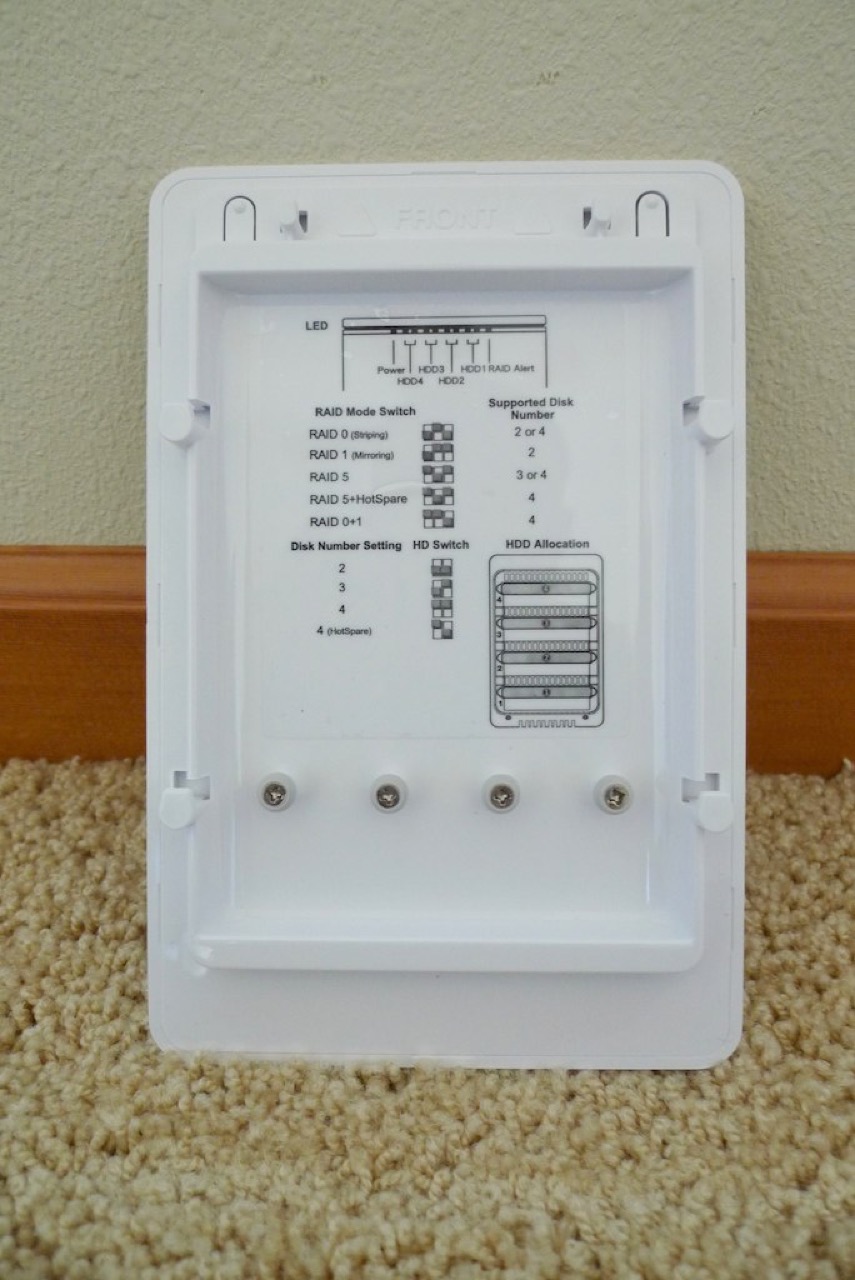
Top Panel
These are more thoughtful touches from Sabio, since user manuals, quick start guides, and spare screws are easy to misplace. Looking into the top of the DM4, you’ll see the four drive rails wrapped in thin plastic bags.
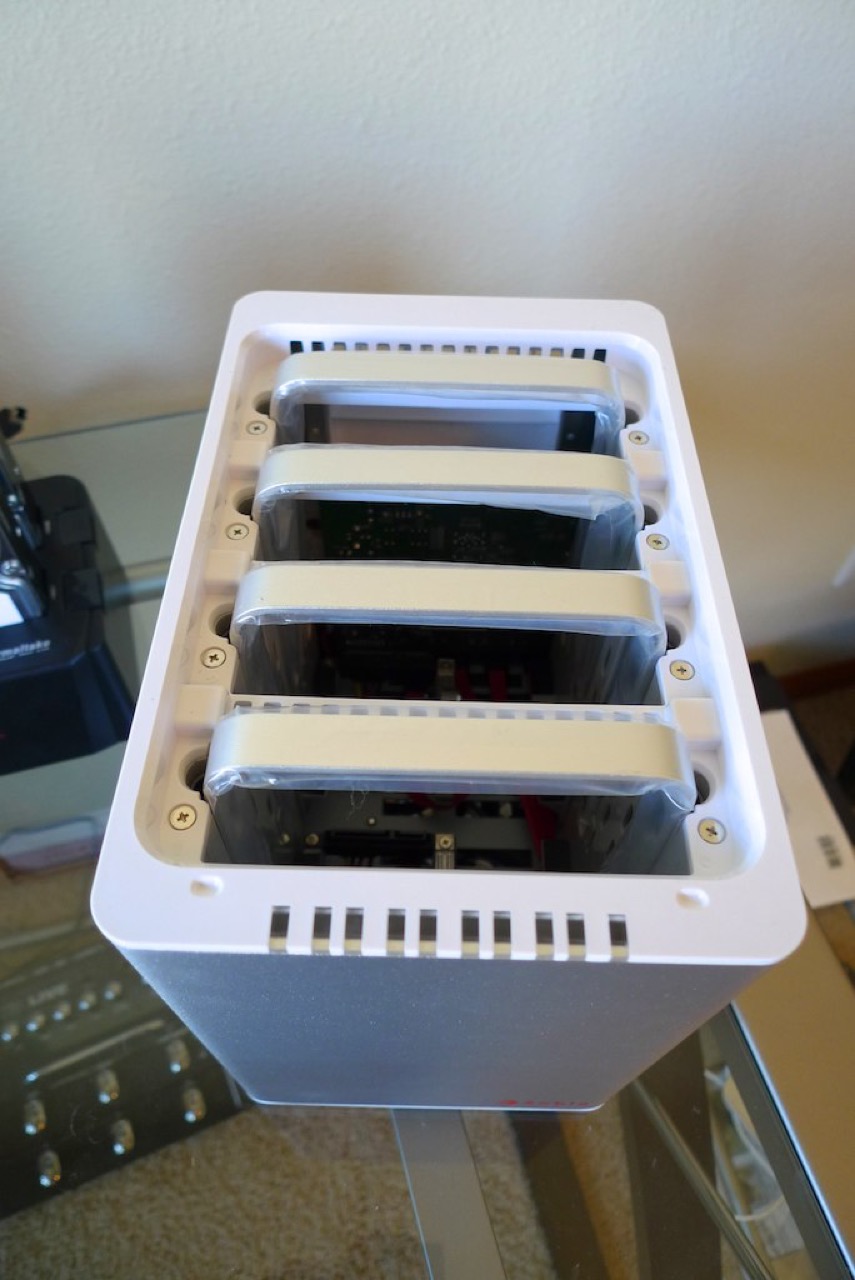
Empty Bays
You can easily pull the rails out to remove the bags and install the Hard Drives.
Drives
I used four Seagate Barracuda 7200.11 1.5 TB drives in my DM4 for the following reasons:
- I already had them
- They were good enough
Satisficing!
The drive rails have slots in their sides matched to the plastic shrouds on the drive screws. After screwing the rail to the bare drive the rail should slide back and forth about a quarter to a half-inch, giving you some play during installation and removal. Again, the materials quality is top notch.
Once I attached the rails to all four drives, I slid them into the main unit drive trays with the metal drive cover facing the front of the DM4. I had to wiggle the drives a bit to get the screw posts down the slots on each side of the case, but my overall impression was that the drives weren’t going anywhere once they were firmly inside.
Sabio includes a set of numeric decals to attach to the drive rails. This will help you avoid losing track of which drive goes in which slot, which can be important for RAID setups. You don’t want to lose all your data after swapping out a failed drive just because you put the drives back in the wrong order.
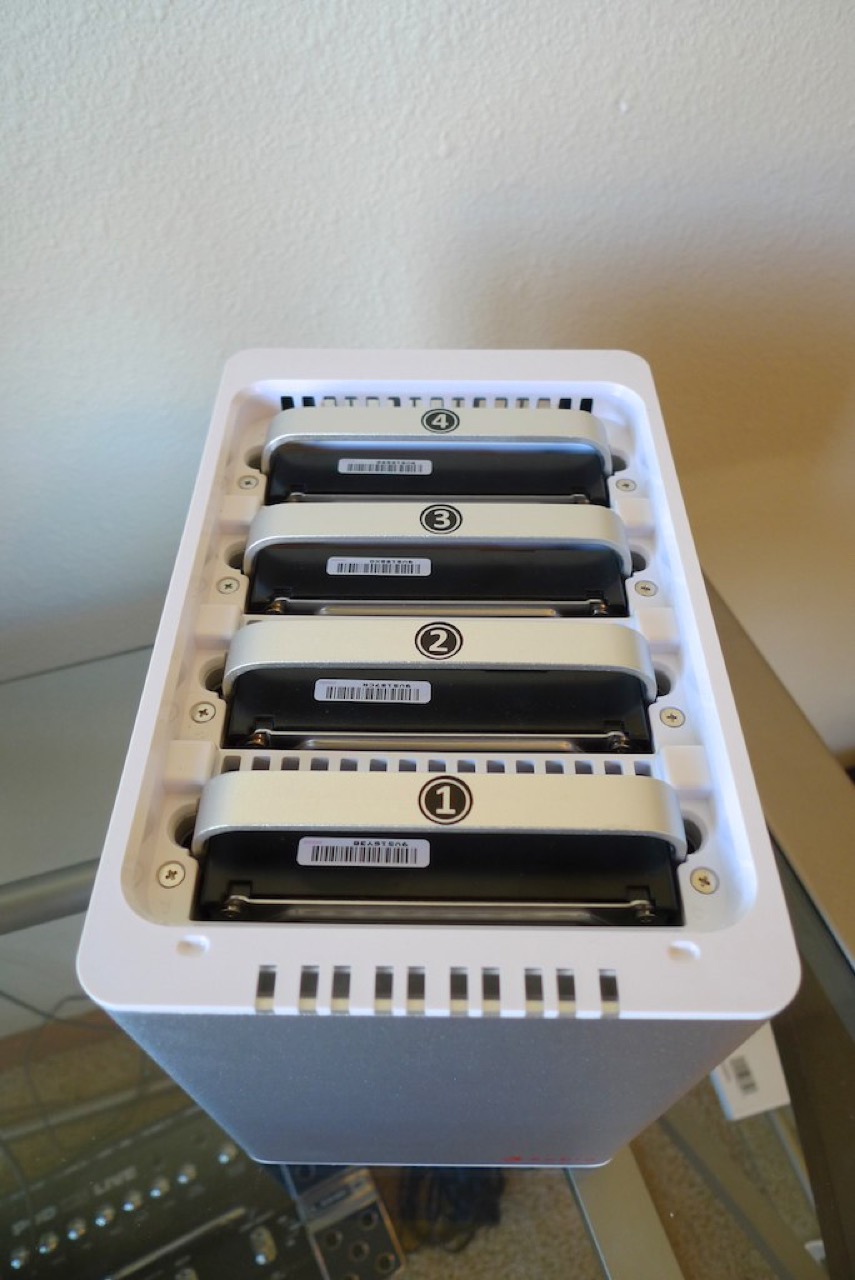
Filled and Numbered Bays
Once all the drives are installed and labeled, slide the top cover back into place.
Jumpers
While the quick start guide goes right to turning the unit on, I’d recommend setting the jumpers for your drive and RAID configuration first. The switches are on the back panel, and are easily accessible with a small standard screwdriver.
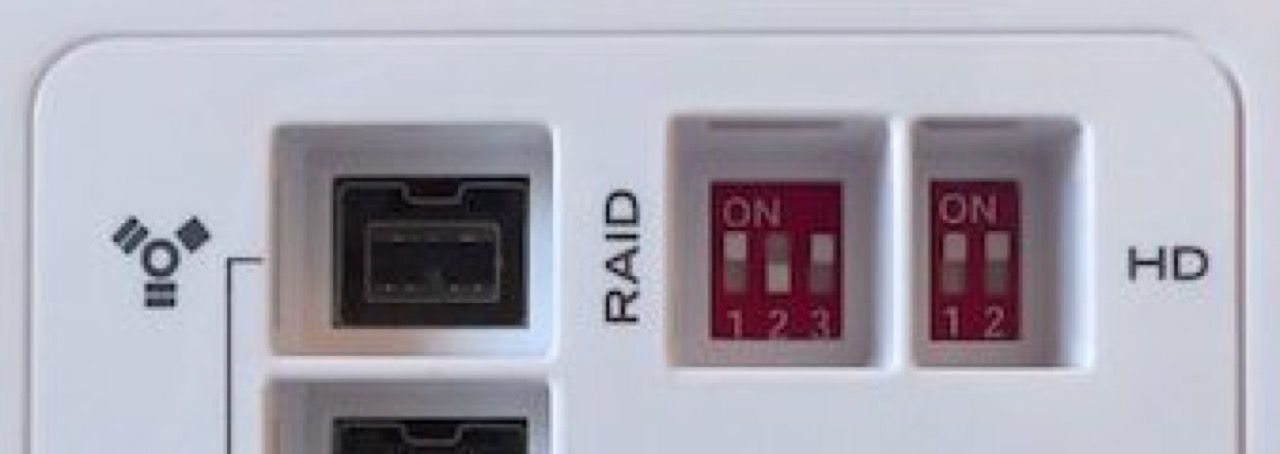
RAID and Hard Drive Jumper Switches
My unit came set for a 4-drive RAID 5 configuration, which was perfect for my use. If that’s not the right setup for you, then move the switches to the proper position using the diagram in the Quick Start Guide or under the top lid.
Plugging it in
Once your jumpers are set, plug in the power and data cables and flip the black power switch on the rear panel.
The fans should spin up and the front panel LEDs should illuminate. In addition to the green power LED, you should have a white LED for each installed hard disk and a blue activity LED that illuminates when each drive is accessed.
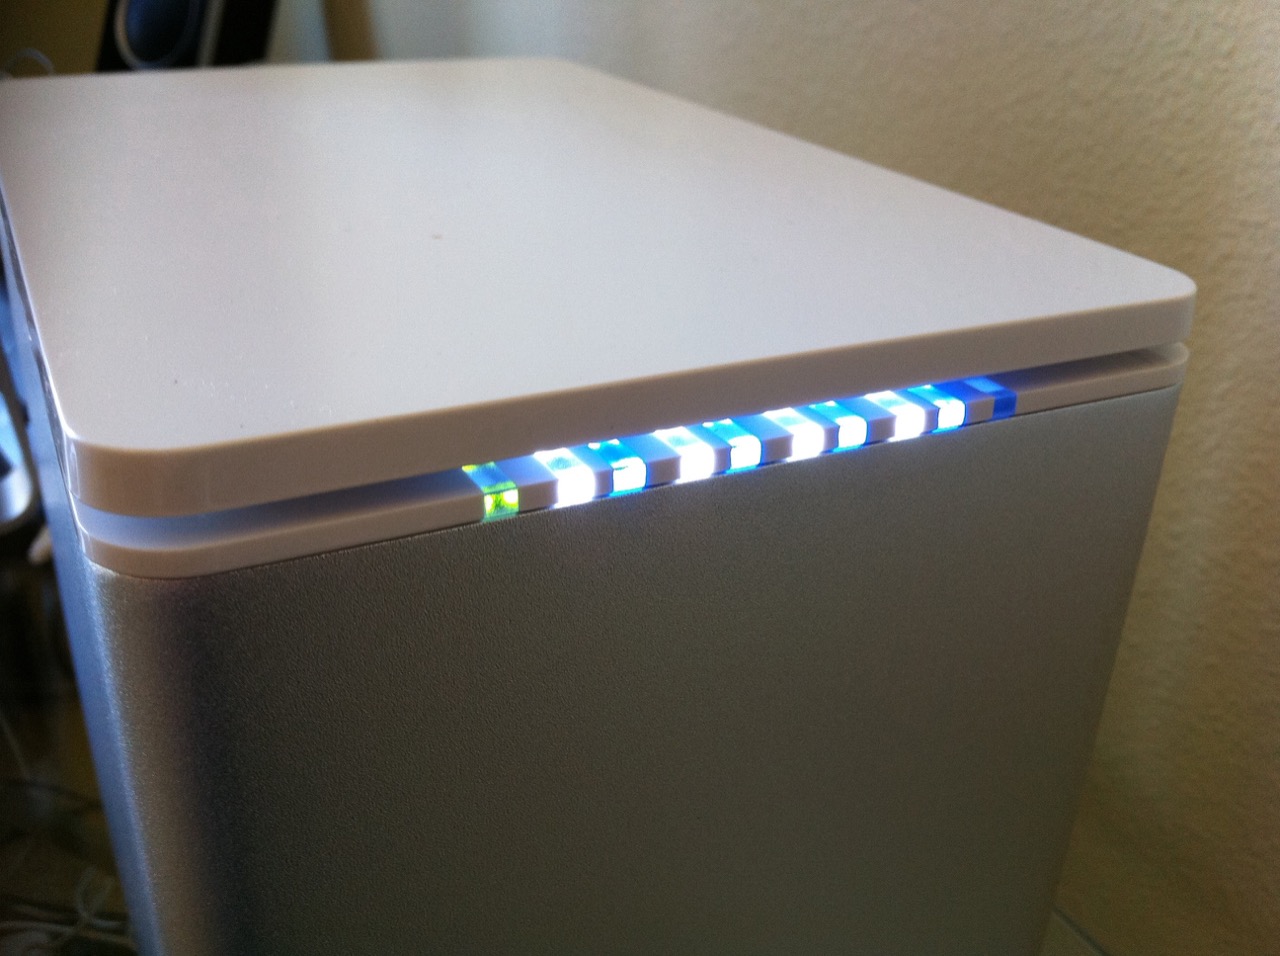
Front Panel LEDs
The LED on the far right is labeled “RAID alert” in the manual. You don’t want to see that one light up.
Partitioning
Partitioning was a snap on my Mac. Once I plugged it in and fired up Disk Utility it appeared in the side panel as “4.5 TB Sabio DM4”. You can partition your DM4 as desired, but I used a single Mac OS Extended (Journaled) partition.
Initial Use
More data will be forthcoming, but my initial file transfer seems to be going well.
Transfer rates have been limited by my USB 2.0 source drive. They’re currently hovering around 20-28 MB/s.
Likes
- Thoughtful design throughout
- Solid construction
- Excellent Quick Start Guide
- Includes all cables
- Spare HDD screws and Jumper guide under lid
- As plug and play as an external 4-Bay RAID DAS device can reasonably be.
Could be better
- Fans vary with temperature and workload, but at high speed they’re on the noisy side
</ul>